
Olympus TG-6 Manual: A Comprehensive Guide
Welcome! This detailed guide unlocks the full potential of your Olympus Tough TG-6, ensuring successful operation and long-lasting enjoyment of its robust features․
The Olympus Tough TG-6 is a rugged and versatile compact camera designed for adventurers and everyday users alike․ Built to withstand the elements, it’s waterproof, shockproof, crushproof, and freezeproof, making it an ideal companion for any environment․
This manual serves as your comprehensive resource for understanding and utilizing all the features of the TG-6․ Whether you’re a seasoned photographer or new to digital imaging, this guide will walk you through setup, operation, and advanced techniques․ We’ll cover everything from basic shooting modes to underwater photography and utilizing the camera’s unique field sensor system․ Prepare to explore the world and capture stunning images with confidence!
Unboxing and Initial Setup
Upon opening your Olympus TG-6 package, you’ll find the camera body, a USB cable for charging and data transfer, a wrist strap for secure handling, and this comprehensive user manual․ Begin by fully charging the camera using the provided USB cable and a suitable power adapter․
Insert a microSD memory card (sold separately) into the designated slot to store your photos and videos․ Power on the camera and follow the on-screen prompts to set the language, date, and time․ Register your product online for warranty benefits and access to exclusive updates․ Now you’re ready to start capturing memories!
Understanding the Camera Body & Controls
The Olympus TG-6 boasts a rugged, waterproof design built for adventure․ Familiarizing yourself with its layout is key to efficient operation․ The camera features a straightforward control scheme, prioritizing ease of use even in challenging conditions․ Key elements include the power button, shutter release, mode dial, and control buttons surrounding the LCD screen․
The function button allows quick access to frequently used settings․ Spend time exploring each control to understand its purpose․ This manual will detail each component, ensuring you confidently navigate the TG-6’s capabilities and unlock its full potential for stunning imagery․
Front and Top Controls
The TG-6’s front panel houses the lens and associated features, including the focus selector and microscopic mode selector – crucial for extreme close-ups․ The top of the camera features the main power button, easily accessible for quick start-up․ Adjacent to it is the shutter button, designed for comfortable and precise operation, even with gloves․
The mode dial is central, allowing swift switching between shooting modes like Program Auto, Aperture Priority, and Manual․ Understanding these controls is fundamental to mastering the TG-6’s versatility, enabling you to adapt to diverse shooting scenarios with confidence and efficiency․
Rear Controls and Buttons
The rear of the Olympus TG-6 is dominated by the 3․0-inch LCD screen, providing a clear view for framing shots and reviewing images․ Below the screen, you’ll find a four-way directional pad with a central ‘OK’ button, used for navigating menus and confirming selections․ Dedicated buttons offer quick access to frequently used settings like playback, menu, and information display․
The ‘Action’ button is customizable, allowing you to assign your preferred function for instant access․ Familiarizing yourself with these controls streamlines your workflow, enabling swift adjustments and maximizing your shooting efficiency in any environment․
Navigating the Menu System
The Olympus TG-6’s menu system is logically organized into several tabs, accessible via the ‘Menu’ button on the rear of the camera․ These tabs include shooting settings, movie settings, playback functions, and a comprehensive setup section for customizing the camera’s behavior․ Use the directional pad to highlight menu options and the ‘OK’ button to select․
The Super Control Panel provides quick access to frequently adjusted settings․ Mastering the menu structure allows you to fine-tune the TG-6 to your preferences, unlocking its full potential for creative control and personalized shooting experiences․
Image Quality Settings
The TG-6 offers a range of image quality settings to balance file size and detail․ You can choose from several JPEG compression levels (Super Fine, Fine, and Normal) and RAW capture for maximum editing flexibility․ Higher compression results in smaller files but reduced image quality․
Understanding these options is crucial for optimizing your workflow․ RAW files retain all image data, ideal for professional editing, while JPEGs are convenient for immediate sharing․ Explore these settings within the camera’s menu to tailor image quality to your specific needs and shooting conditions․
Resolution and Aspect Ratio
The Olympus TG-6 allows you to customize image resolution and aspect ratio to suit your creative vision․ Resolutions range from 12MP to 20MP, impacting file size and detail․ Higher resolutions are ideal for large prints or significant cropping, while lower resolutions are suitable for web use or quick sharing․
Aspect ratio options include 4:3 (standard), 3:2, and 1:1 (square)․ Choosing the right aspect ratio can dramatically alter the composition of your images․ Experiment with these settings to achieve the desired look and feel for your photographs, optimizing for different display formats․
ISO Sensitivity Explained
ISO controls your camera’s sensitivity to light․ Lower ISO settings (like ISO 100) produce cleaner images in bright conditions, minimizing noise․ As light decreases, increasing the ISO (e․g․, ISO 800, 1600, or higher) allows for faster shutter speeds, preventing blur in moving subjects or low-light scenarios․
However, higher ISO values introduce more digital noise, potentially reducing image quality․ The TG-6’s excellent sensor performs well at higher ISOs, but it’s best to use the lowest possible ISO to maintain optimal clarity․ Understanding this trade-off is crucial for achieving well-exposed, sharp images․
White Balance Options
White balance (WB) ensures accurate color rendition under different lighting conditions․ The TG-6 offers several presets: Auto, Daylight, Cloudy, Shade, Tungsten, Fluorescent, and Flash․ ‘Auto’ generally performs well, but specific presets refine colors for optimal results․
For example, ‘Cloudy’ warms up the image, while ‘Tungsten’ cools it down․ A ‘Custom’ WB setting allows you to manually calibrate color using a white or gray card for ultimate accuracy․ Incorrect WB results in color casts – images appearing too blue, yellow, or green․ Experiment to find the best setting for each scene!
Shooting Modes Explained
The TG-6 offers versatile shooting modes to suit various scenarios․ ‘Program Auto’ (P) lets the camera manage settings while you control focus and exposure compensation․ ‘Aperture Priority’ (Av) allows manual aperture control for depth-of-field adjustments․ ‘Shutter Priority’ (Tv) prioritizes shutter speed, ideal for capturing motion․
‘Manual’ (M) grants full control over both aperture and shutter speed, offering creative flexibility․ Additional modes include Scene modes (Portrait, Landscape, etc․) and specialized options like Microscope mode․ Understanding each mode empowers you to achieve desired photographic effects․
Program Auto Mode
Program Auto (P) mode is a fantastic starting point for TG-6 users․ It intelligently selects optimal aperture and shutter speed combinations based on the scene, simplifying photography․ However, it doesn’t relinquish all control; you can adjust exposure compensation to brighten or darken images, and white balance for accurate colors․
This mode is exceptionally useful for everyday shooting, providing reliable results without requiring extensive technical knowledge․ It’s a great balance between automation and creative input, allowing quick and easy capture of memorable moments․ Explore exposure compensation for personalized results!
Aperture Priority Mode
Aperture Priority (A) mode empowers you to control the depth of field, influencing how much of your image is in focus․ Selecting a wider aperture (lower f-number, like f/2․8) creates a shallow depth of field, ideal for portraits with blurred backgrounds․ Conversely, a narrower aperture (higher f-number, like f/8) maximizes depth of field, perfect for landscapes․
The TG-6 automatically adjusts the shutter speed to achieve proper exposure, while you dictate the aesthetic․ This mode is excellent for creative control, allowing you to emphasize subjects or capture expansive scenes with clarity․ Experiment with different apertures to see the effect!
Shutter Priority Mode
Shutter Priority (S) mode grants you control over the shutter speed, determining how motion is captured․ Faster shutter speeds (e․g․, 1/1000s) freeze action, perfect for sports or wildlife photography․ Slower shutter speeds (e․g․, 1/30s) blur motion, creating a sense of movement or capturing light trails․
The TG-6 automatically adjusts the aperture to maintain proper exposure, while you manage the depiction of time․ This mode is invaluable for dynamic scenes, allowing you to either halt fleeting moments or artistically convey speed․ Remember to use a tripod for slower shutter speeds to avoid camera shake!
Manual Mode – Full Control
Manual (M) mode unlocks complete creative freedom, granting full control over both aperture and shutter speed․ This mode demands a solid understanding of the exposure triangle – the interplay between aperture, shutter speed, and ISO․ Adjust aperture to control depth of field, influencing how much of the scene is in focus․

Manipulate shutter speed to freeze or blur motion, and ISO to manage sensitivity to light․ Manual mode is ideal for challenging lighting conditions or when you desire a specific artistic effect․ It requires practice, but rewards photographers with unparalleled control over their images․
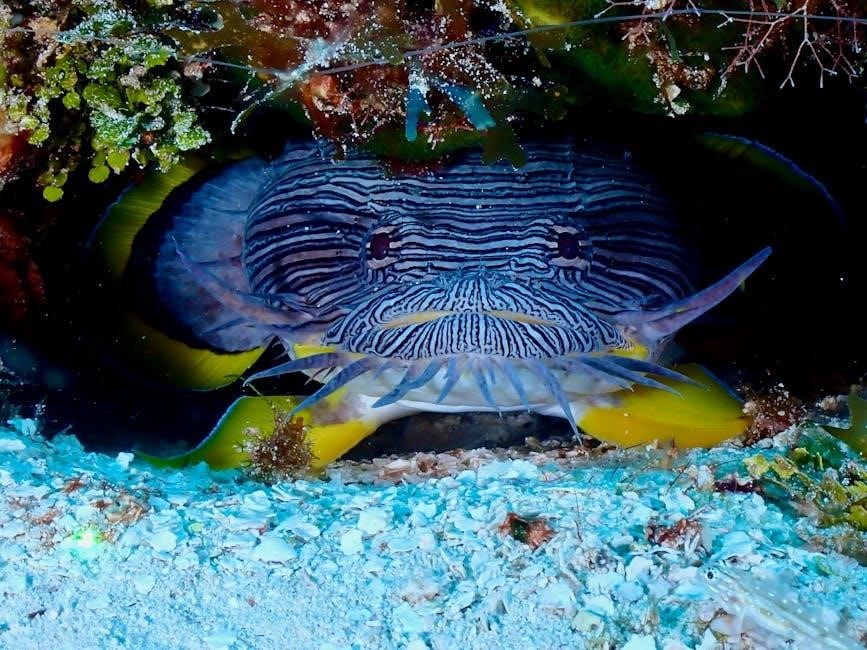
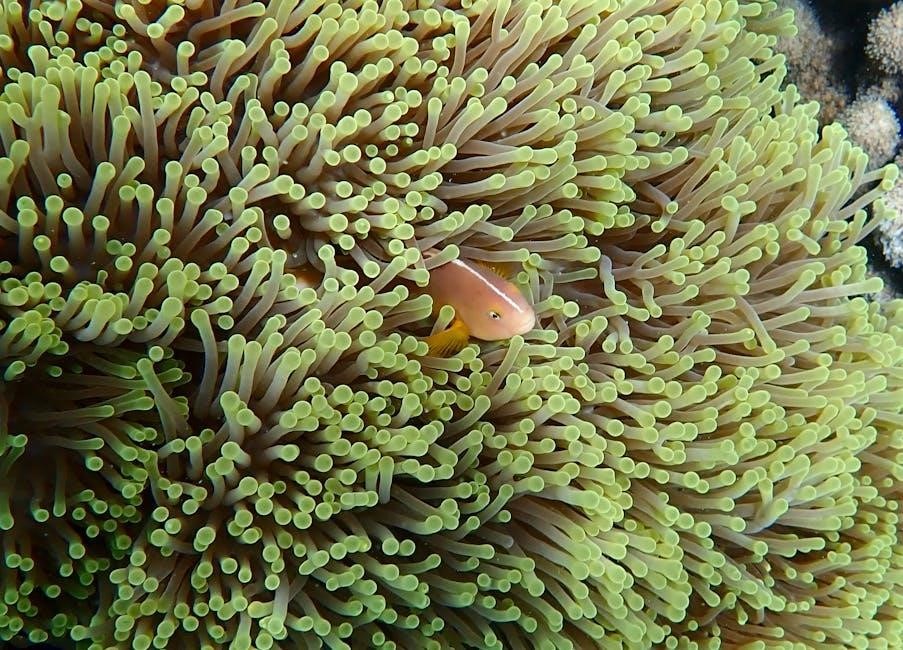
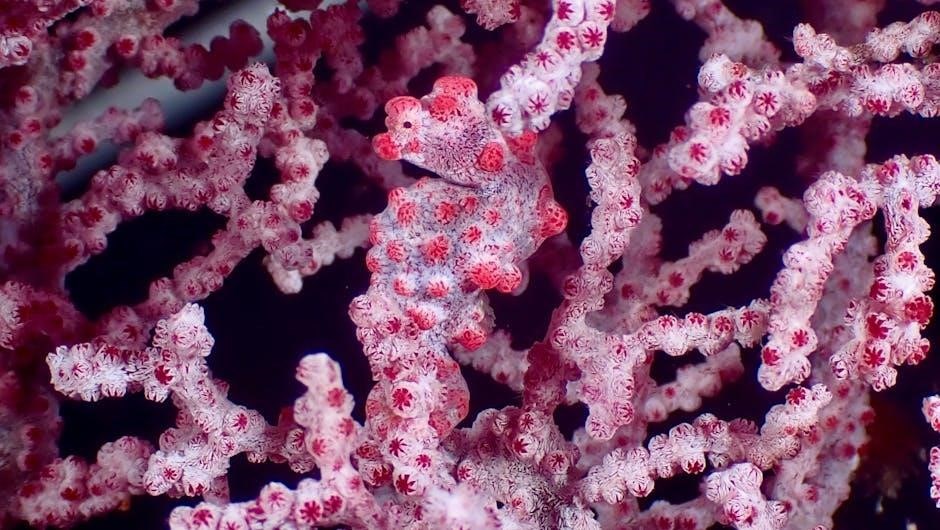
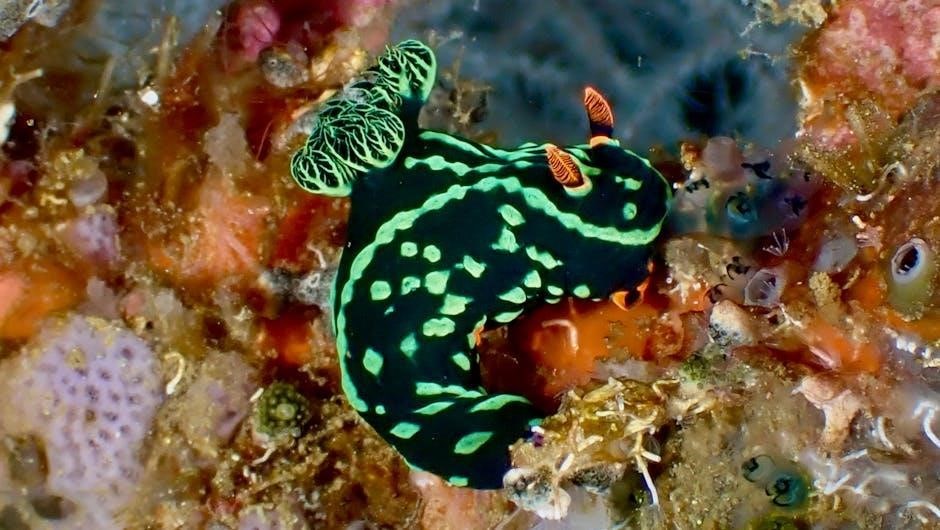
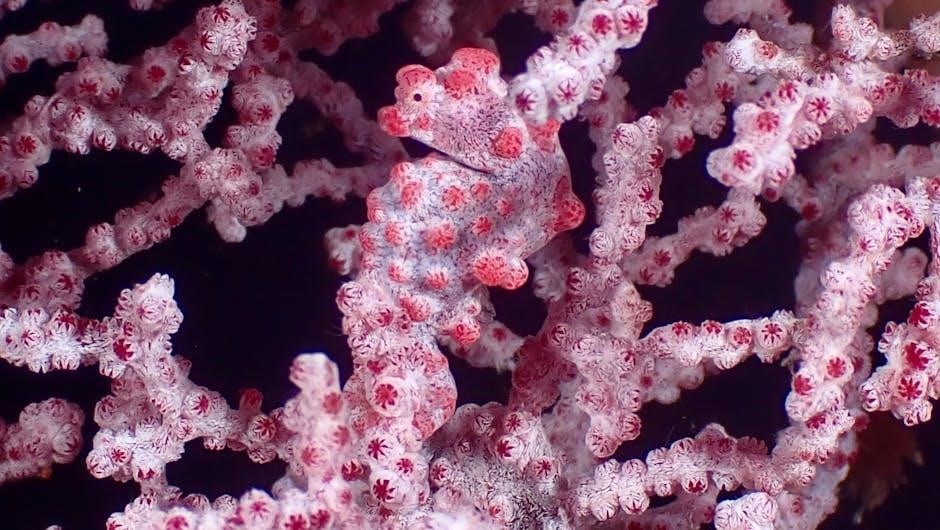
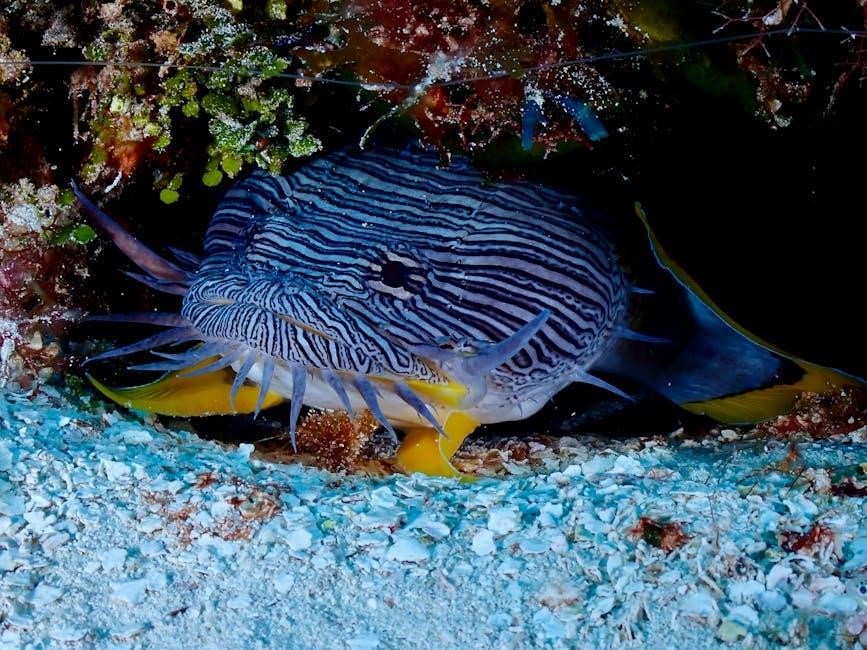
Underwater Photography with the TG-6
The Olympus TG-6 excels underwater, boasting a robust waterproof design․ It’s depth rated to 50ft (15m) without a housing, and even deeper with the optional waterproof housing․ Achieving vibrant underwater photos requires careful attention to white balance․ Utilize the dedicated underwater white balance modes to counteract the color absorption that occurs as light travels through water․
Get close to your subject for sharper, more colorful images, minimizing the amount of water between the lens and your target․ Consider using a red filter to restore lost red tones at greater depths․
Waterproof Housing and Depth Rating
The Olympus TG-6 is waterproof down to 50 feet (15 meters) without any additional accessories, making it ideal for snorkeling and shallow diving․ For more serious underwater exploration, the optional Olympus PT-059 waterproof housing extends the depth rating to an impressive 147 feet (45 meters)․
Always inspect the O-rings on the housing before each dive, ensuring they are clean and properly seated․ Regularly maintain the housing to prevent leaks and ensure reliable performance․ Using the housing unlocks professional-level underwater photography capabilities with the TG-6․
Underwater White Balance Settings
Achieving accurate colors underwater requires careful white balance adjustment․ The TG-6 offers several underwater white balance modes, including Auto, Daylight, Shade, Cloudy, and custom settings․ For optimal results, utilize the Custom WB function; photograph a white slate or card at your dive depth to establish a precise reference․
Alternatively, experiment with the pre-set modes, noting that color casts shift with depth and water conditions․ Regularly check your images and adjust accordingly․ Proper white balance dramatically improves the vibrancy and realism of your underwater photos and videos․
Tips for Capturing Clear Underwater Images
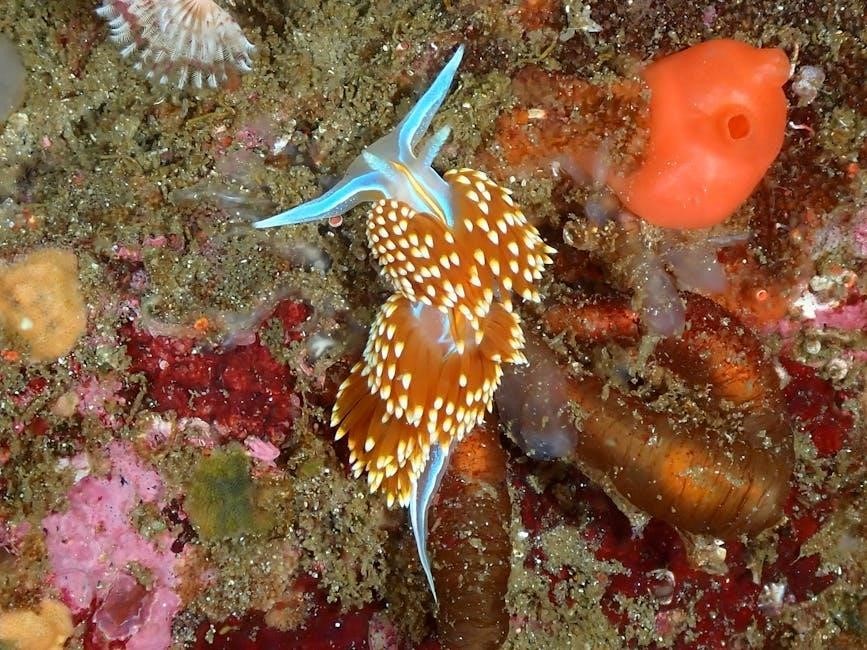
Maximize clarity by getting as close as possible to your subject, minimizing the water between the lens and your target․ Utilize the TG-6’s microscopic close-up mode for stunning macro shots of marine life․ Shoot in RAW format for greater flexibility during post-processing, correcting color casts and enhancing details․
Employ a fast shutter speed to freeze motion and reduce blur caused by movement or currents․ Consider using a red filter or adjusting white balance to restore natural colors lost due to water absorption․ Practice buoyancy control to maintain a stable shooting platform․
Advanced Features & Settings
Unlock the TG-6’s potential with its sophisticated features․ Explore various focusing modes – Single AF, Continuous AF, and Manual Focus – to suit different shooting scenarios․ Master the Microscopic Close-Up mode for incredibly detailed images of tiny subjects, revealing hidden worlds․
Leverage the Field Sensor System, integrating GPS, a compass, and an altimeter, to geotag your photos and record environmental data․ Customize settings like dynamic range optimization and shadow adjustment control for optimal image quality․ Experiment with custom modes to save preferred settings for quick access․

Focusing Modes and Techniques
The TG-6 offers versatile focusing options․ Single AF is ideal for stationary subjects, locking focus with a half-press of the shutter․ Continuous AF tracks moving subjects, maintaining sharpness during action․ Manual Focus provides precise control, useful for macro photography or challenging lighting․
Utilize focus peaking to visually confirm sharpness in Manual Focus․ Explore target selection AF, allowing you to tap the screen to select your focus point․ Master focus bracketing for increased depth of field in close-up shots․ Experiment with AF illumination for low-light focusing assistance․
Microscopic Close-Up Mode
The TG-6’s Microscopic Close-Up mode is a standout feature, enabling incredibly detailed photography of tiny subjects․ Activate it via the shooting mode selector․ This mode allows focusing as close as 1cm, revealing hidden worlds․ Utilize a stable surface or tripod for optimal sharpness at such close ranges․
Employ focus peaking and manual focus for precise control․ Diffused lighting is crucial to avoid harsh shadows; consider using a diffuser or shooting in open shade․ Experiment with different angles to highlight textures and details․ This mode excels at capturing the intricacies of nature and small objects․
Field Sensor System (GPS, Compass, Altimeter)
The TG-6 integrates a powerful Field Sensor System, enhancing your photography with location, direction, and altitude data․ Enable GPS for geotagging images, allowing you to pinpoint shooting locations on a map․ The compass displays direction, useful for landscape and architectural photography․ The altimeter provides altitude information, ideal for mountain or hiking adventures․
Access sensor data via the camera’s menu․ Data can be recorded directly into images or logged separately․ Ensure a clear view of the sky for optimal GPS signal acquisition․ Battery life may be affected when using these features continuously․ Explore the sensor’s capabilities to enrich your photographic storytelling․
Video Recording Capabilities
The Olympus TG-6 excels in video recording, offering impressive quality in a compact package․ Capture stunning videos in resolutions up to 4K UHD at 30fps, or choose 1080p for extended recording times and compatibility․ Frame rates of 60fps are available in Full HD for smoother motion․ The TG-6 supports various video codecs for flexible editing options․
Utilize the image stabilization to minimize camera shake during handheld shooting․ Connect an external microphone via the optional adapter for improved audio quality․ Explore slow-motion (120fps) and time-lapse video features for creative effects․ Review and edit videos directly on the camera’s LCD screen․
Video Resolution and Frame Rates
The TG-6 offers a versatile range of video resolutions and frame rates to suit diverse shooting scenarios․ Users can record in stunning 4K Ultra HD (3840 x 2160) at 30 frames per second for maximum detail․ For slower motion or longer recording times, Full HD (1920 x 1080) is available at selectable frame rates of 30fps and 60fps․
High-speed recording is also possible, capturing footage at 120fps in Full HD for dramatic slow-motion playback․ These options allow for creative control and adaptability․ The chosen resolution and frame rate impact file size and recording duration, so consider your needs․
Audio Recording Options
The Olympus TG-6 provides several audio recording options to enhance your videos․ It features a built-in stereo microphone for capturing ambient sound, offering a noticeable improvement over mono recordings․ Users can adjust the recording level manually or utilize the auto-level function for convenient operation․
An external microphone can be connected via the optional microphone adapter, significantly boosting audio quality for professional-looking results․ Wind noise reduction is available to minimize unwanted sounds during outdoor shoots․ The TG-6 supports audio recording in AAC format, ensuring compatibility with various editing software․
Slow Motion and Time-Lapse Video
The Olympus TG-6 offers creative video capabilities including both slow motion and time-lapse recording․ Slow motion is achieved by recording at a higher frame rate (up to 120fps) and playing it back at a standard rate, creating a dramatic effect․ This is ideal for capturing fast-paced action with incredible detail․
Time-lapse video condenses long periods into shorter clips, showcasing gradual changes․ The TG-6 allows interval shooting, letting you select the time between each frame․ This feature is perfect for capturing stunning landscapes or blooming flowers․ These modes expand creative possibilities beyond standard video recording․
Maintenance and Troubleshooting
Proper maintenance ensures your TG-6’s longevity․ Regularly clean the lens with a soft, dry cloth and the camera body with a slightly damp one․ Avoid harsh chemicals or abrasive cleaners․ Store the camera in a cool, dry place, ideally in its protective case, when not in use․
Common issues include blurry images (check focus and lens cleanliness) and battery drain (reduce screen brightness or use power-saving modes)․ If the camera freezes, try resetting it via the menu․ For more complex problems, consult the Olympus support website for detailed troubleshooting guides and FAQs․
Cleaning and Storage
Maintaining your TG-6’s pristine condition is crucial․ After each use, gently wipe the exterior with a soft, dry microfiber cloth to remove dust and fingerprints․ For stubborn smudges, slightly dampen the cloth with fresh water – avoid getting moisture into any openings․ The lens benefits from a dedicated lens cleaning cloth․
Proper storage extends the camera’s lifespan․ When not in use, store the TG-6 in its case, away from direct sunlight, extreme temperatures, and humidity․ Remove the battery for prolonged storage to prevent potential leakage․ Keep the waterproof door seals clean and free of debris for continued waterproof performance․
Common Issues and Solutions
Experiencing issues? Here’s a quick troubleshooting guide․ If the camera freezes, try resetting it via the menu or removing/reinserting the battery․ For blurry images, ensure proper focus and a stable grip․ Check the SD card if you encounter write errors – format it within the camera․
Water leakage is a serious concern․ Always inspect the waterproof door for damage and ensure it’s securely closed․ Condensation inside the housing indicates a seal issue; dry thoroughly․ If problems persist, consult Olympus support or a qualified technician for professional assistance and repair options․