
Mini cube spy cameras are compact, discreet, and feature-rich devices designed for surveillance․ Their small size, high-quality imaging, and wireless connectivity make them ideal for home or office use․
Overview of Mini Cube Spy Cameras
Mini cube spy cameras are small, discreet devices designed for covert surveillance․ They offer high-definition video recording, motion detection, and wireless connectivity․ These cameras are ideal for monitoring spaces like homes, offices, or vehicles․ Their compact design allows placement in inconspicuous locations, while features like night vision and two-way audio enhance functionality․ Many models support remote access via smartphone apps, enabling real-time monitoring․ With user-friendly interfaces and advanced features, mini cube spy cameras are versatile tools for security and peace of mind․ They balance affordability with robust performance, making them popular for both personal and professional use․
Importance of Proper Setup and Usage
Proper setup and usage of mini cube spy cameras are crucial for optimal functionality and legal compliance; Incorrect installation or misuse can lead to poor video quality, reduced battery life, or even legal consequences․ Ensuring ethical use is essential to avoid privacy violations․ Always follow the user manual for correct placement, configuration, and operation․ Proper setup ensures reliable performance, clear footage, and effective motion detection․ Failure to adhere to guidelines may result in malfunction or unintended consequences․ Legal and ethical considerations must be prioritized to maximize the camera’s potential while respecting privacy rights․

Unboxing and Physical Setup
Welcome your mini cube spy camera! Carefully unpack and inspect the device․ Familiarize yourself with the camera, USB cable, and user manual․ Follow the manual for easy setup․
What’s Included in the Package
Your mini cube spy camera package typically includes the camera unit itself, a USB charging cable, and a detailed user manual․ Some models may also provide a pin or reset tool for accessing the device’s settings․ Additional accessories like an adhesive mount or magnetic base might be included for easy placement․ Ensure all items are accounted for before proceeding with setup․ The manual provides essential instructions for proper installation and operation of the device․
Physical Description and Key Components
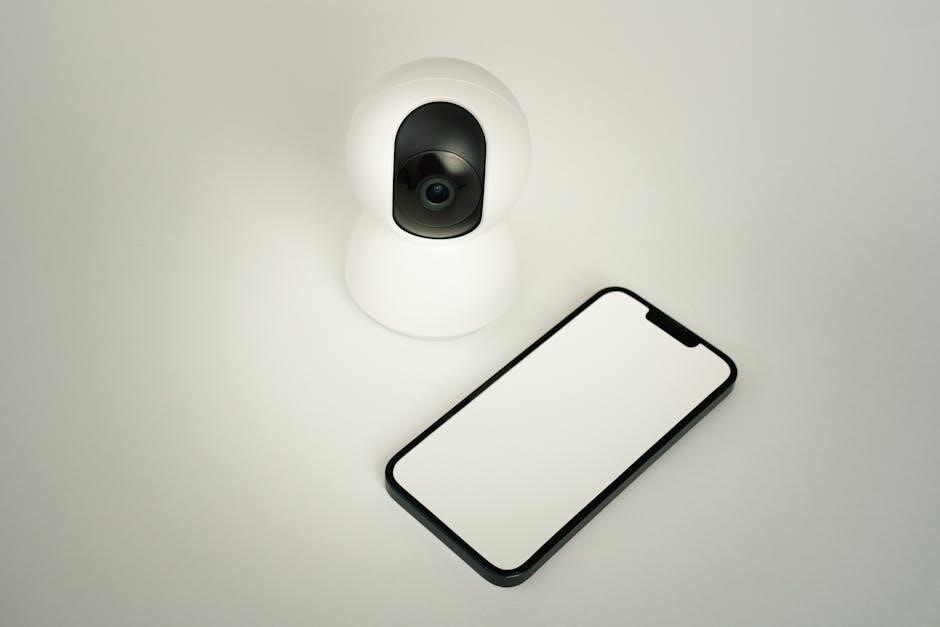
Mini cube spy cameras are incredibly compact, often measuring around 2․2cm on each side, making them highly discreet․ Their lightweight design allows easy placement in various locations․ The camera features a high-resolution lens for clear video capture, a built-in microphone for audio recording, and LED indicators for status notifications․ Key components include a rechargeable battery, Wi-Fi connectivity module, and a microSD card slot for storage․ Some models also include motion detection sensors and night vision capabilities, enhancing their functionality for surveillance purposes․

Charging and Powering the Device
Mini cube spy cameras are powered via USB cables connected to their charging ports․ The devices typically indicate charging status through LED lights, ensuring proper power management․
How to Charge the Mini Cube Spy Camera
To charge the mini cube spy camera, locate the USB charging port on the device․ Insert the provided USB cable into this port and connect the other end to a power source, such as a wall adapter or computer USB port․ The camera’s LED indicator will typically turn red or flash during charging․ Once fully charged, the LED will turn solid blue or green, indicating the battery is ready for use․ Ensure the device is charged for at least 2 hours before first use to achieve optimal battery performance․
- Connect the USB cable to the camera’s charging port․
- Plug the other end into a power source․
- Wait for the LED indicator to confirm charging․
- Allow 2 hours for a full charge before use․
Understanding Battery Life and Power Management
Mini cube spy cameras typically offer a battery life of 4-8 hours on a single charge, depending on usage and settings․ To maximize performance, enable power-saving modes, reduce video resolution, or use motion detection․ Avoid overcharging, as this can degrade battery health․ For extended use, consider connecting the camera to a portable power bank or using a continuous power supply․ Regularly update firmware to improve energy efficiency and ensure optimal functionality․
- Average battery life: 4-8 hours․
- Use power-saving features to extend life․
- Avoid overcharging to maintain battery health․
Connecting the Camera to Wi-Fi
To connect your mini cube spy camera to Wi-Fi, select your network, enter the password, and follow in-app instructions to complete the setup․ Ensure stable connectivity for smooth operation․
Steps to Connect the Camera to Your Network
First, power on the camera and open the HDWifiCamPro app․ Tap “Add Device” and select your camera model․ Choose your Wi-Fi network from the list and enter the password․ The camera will connect automatically․ Once connected, a confirmation message will appear․ Ensure your router is on the same network and restart the camera if issues arise․ Proper Wi-Fi setup ensures remote monitoring and alerts․ Follow in-app guidelines for seamless connectivity․
Troubleshooting Wi-Fi Connectivity Issues
If the camera fails to connect, restart both the camera and your router․ Ensure the Wi-Fi password is entered correctly and check for network congestion․ Move the camera closer to the router to improve signal strength․ Disable any VPNs or firewalls temporarily․ Update the camera’s firmware via the app․ If issues persist, reset the camera by pressing the reset button for 10 seconds․ Refer to the user manual for detailed troubleshooting steps․ Proper connectivity ensures smooth operation and remote access․
Recording and Storage Management
Mini cube spy cameras offer seamless recording and storage solutions․ They support microSD cards for local storage and often feature loop recording․ Manage footage efficiently through the app․
How to Start and Stop Recording
To start recording on a mini cube spy camera, press the power button once․ The LED light will flash three times and turn off, indicating recording has begun․ For remote control, open the app, navigate to the camera settings, and toggle the recording option․ To stop recording, press the power button again or use the app to disable the feature․ The camera saves footage to a microSD card, ensuring data is stored securely․ Some models also support loop recording, overwriting old files when storage is full․ Always check the manual for specific instructions․
Understanding Storage Options and Data Management
Mini cube spy cameras typically use microSD cards for storage, supporting capacities up to 128GB․ Loop recording is a standard feature, allowing the camera to overwrite old footage when storage is full; For app-based models, recordings can be accessed and managed remotely․ Users can delete or download files directly through the app․ Ensure the microSD card is formatted correctly for optimal performance․ Always check the camera’s settings to configure storage preferences, ensuring efficient data management and reliable video capture․ This feature enhances usability and ensures important footage is retained․ Regularly review and backup recordings to avoid data loss․

Motion Detection and Alerts
Mini cube spy cameras often feature motion detection, sending alerts to your smartphone when movement is detected․ Adjust sensitivity settings to minimize false notifications․
Enabling Motion Detection Features
To enable motion detection on your mini cube spy camera, open the app and navigate to the settings menu․ Select the “Motion Detection” option and toggle it on; Adjust the sensitivity level based on your needs to avoid unnecessary alerts․ Ensure your device is connected to Wi-Fi and that notifications are enabled on your smartphone․ Once activated, the camera will detect movement and send alerts, allowing you to monitor activity remotely and respond promptly to potential security concerns․
Setting Up Alerts and Notifications
To set up alerts and notifications, open the camera’s app and navigate to the settings menu․ Enable “Notifications” and customize alert preferences, such as motion detection triggers․ Specify notification types, like push alerts or email updates, and set alert intervals․ Ensure your device is connected to Wi-Fi and that notifications are enabled in your smartphone’s settings․ These configurations ensure you receive timely updates for detected activities, enhancing your surveillance experience and allowing you to respond promptly to potential security concerns․
Privacy and Legal Considerations
Mini cube spy cameras raise significant privacy concerns․ Using them without consent may violate laws․ Always ensure ethical deployment and comply with local regulations․
Ensuring Ethical Use of Spy Cameras
Using mini cube spy cameras ethically requires informed consent from individuals being recorded․ Always respect privacy rights and avoid hidden surveillance in private areas․ Misusing these devices can lead to legal consequences․ Ensure recordings are for legitimate purposes, such as security or monitoring, and never for invasion of privacy․ Transparency is key to maintaining trust and compliance with ethical standards․ Consult legal experts to confirm adherence to local laws and regulations․
Legal Implications of Surveillance
Using mini cube spy cameras for surveillance raises legal concerns․ Laws vary by jurisdiction, but recording individuals without consent can violate privacy rights․ In many regions, hidden cameras are prohibited in private areas like bathrooms or bedrooms․ Unauthorized surveillance may lead to civil or criminal charges, including fines and penalties․ Ensure compliance with local laws and obtain explicit consent when required․ Misuse can result in severe legal consequences, emphasizing the importance of understanding and adhering to regional regulations before deploying such devices․