
The Honeywell 6000 WiFi Thermostat offers a user-friendly solution for managing home temperatures remotely. With WiFi connectivity, it ensures smart home integration and energy-efficient performance, making it a modern choice for convenience and comfort.
1.1 Overview of Honeywell 6000 WiFi Thermostat
The Honeywell 6000 WiFi Thermostat is a smart home device designed for remote temperature control. It connects seamlessly to home WiFi networks, enabling users to adjust settings via computers, tablets, or smartphones. Compatible with the Total Connect Comfort Service, it offers a user-friendly interface for scheduling and monitoring. Easy to set up, this thermostat enhances home comfort and energy efficiency, making it a reliable choice for modern living.
1.2 Key Features and Benefits
The Honeywell 6000 WiFi Thermostat features remote access, energy-saving modes, and smart scheduling. It offers compatibility with various HVAC systems and works seamlessly with the Total Connect Comfort app. Users benefit from real-time temperature adjustments, geofencing capabilities, and energy usage reports. Its intuitive design ensures easy installation and operation, while the WiFi connectivity provides a convenient way to manage home comfort from anywhere, optimizing both efficiency and performance.
Pre-Installation Requirements
Before installing the Honeywell 6000 WiFi Thermostat, ensure system compatibility and gather necessary tools. Verify wiring configuration and ensure power is turned off at the HVAC system.
2.1 System Compatibility Check
Ensure the Honeywell 6000 WiFi Thermostat is compatible with your HVAC system. Verify support for 1- or 2-stage heating, 1-stage cooling, or heat pump systems. Check voltage requirements (24V) and wiring configuration (R, W, Y, G, C). Confirm compatibility with your home’s electrical setup and existing wiring to avoid installation issues. Consult the manual or Honeywell support if unsure about system compatibility.
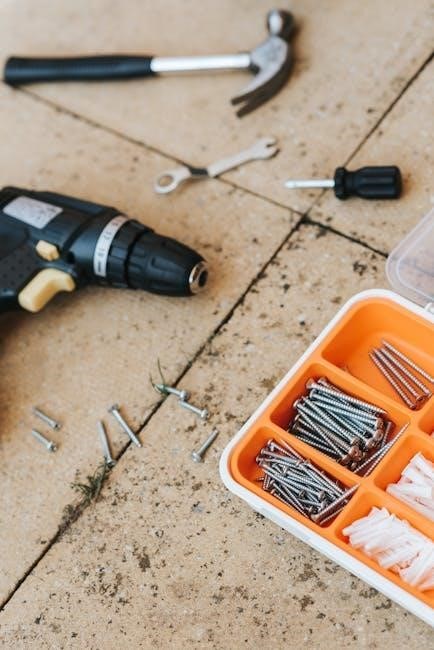
2.2 Tools and Materials Needed
To install the Honeywell 6000 WiFi Thermostat, you will need a few essential tools and materials. These include a screwdriver (Phillips and flathead), wire stripper, voltage tester, and a drill with bits for wall mounting. Ensure you have the thermostat unit, wallplate, wiring labels, and mounting screws from the package. Additionally, a smartphone or computer is required for WiFi setup and registration. Always disconnect power before starting installation to ensure safety;
Unboxing and Inventory
Open the Honeywell 6000 WiFi Thermostat package and verify all components, including the thermostat, wallplate, screws, wiring labels, and user manual, are present and undamaged.
3.1 Components Included in the Package
The Honeywell 6000 WiFi Thermostat package contains the thermostat unit, wallplate, mounting screws, wire labels, and a detailed user manual. Additional items may include a Quick Start Guide and warranty information. Ensure all components are present before proceeding with installation.
3.2 Verifying All Parts Are Present
Before starting installation, carefully check the package contents against the manual. Ensure the thermostat, wallplate, screws, wire labels, and instructions are included. Verify no components are damaged or missing. If any items are missing or damaged, contact Honeywell support immediately. This step ensures a smooth installation process and prevents delays.
Preparation for Installation
Disconnect power to the HVAC system for safety. Verify wiring compatibility and identify terminal labels. Familiarize yourself with the thermostat’s components and installation requirements beforehand to ensure a smooth process.
4.1 Turning Off Power to HVAC System
Before starting the installation, ensure the HVAC system is powered off at the circuit breaker or main electrical panel. Verify the thermostat display is dark to confirm power is off. This step is crucial for safety and prevents potential damage to the system or risk of electrical shock. Always prioritize electrical safety when working with HVAC systems to avoid hazards and ensure a smooth installation process.
4.2 Understanding Thermostat Wiring
Identify the wiring configuration by inspecting the existing thermostat setup. Common wires include R (power), W (heat), Y (cool), G (fan), and C (common). Ensure all wires are securely connected to their respective terminals. If your system lacks a C wire, check for compatibility with the Honeywell 6000 WiFi Thermostat. Proper wiring is essential for reliable operation. Consult the manual or a professional if unsure about connections to avoid installation errors.
Physical Installation of the Thermostat
Mount the wallplate securely, ensuring proper alignment. Insert the reference card after installation. Gently connect the wires to the thermostat terminals, following the wiring diagram. Turn on power and test functionality to ensure correct operation.
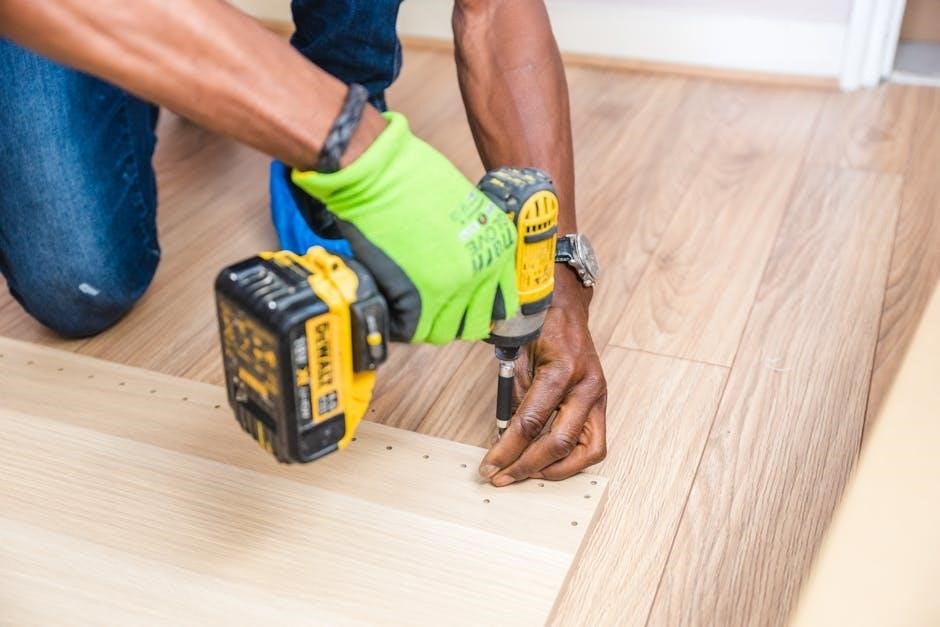
5.1 Mounting the Wallplate
Begin by positioning the wallplate on the wall, ensuring it is level and aligned properly. Use the provided screws or wall anchors to secure it firmly. Gently insert the reference card into the wallplate after mounting. Ensure no wires are pinched or damaged during installation. This step is crucial for proper thermostat functionality and system compatibility. Proceed carefully to avoid any electrical issues.
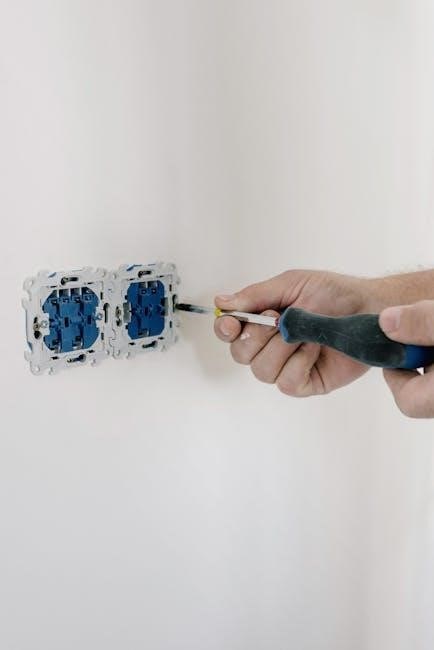
5.2 Connecting Wires to the Thermostat
Match each wire to the corresponding terminal on the thermostat, referring to the wiring diagram in the manual. Gently insert the wires into their respective terminals, ensuring they are securely connected. If your system has a common wire (C), connect it to the C terminal. For systems without a C wire, the G wire may be used as a substitute, if compatible. Avoid forcing wires into incorrect terminals to prevent damage. After connecting, secure any excess wire neatly and ensure no wires are pinched when attaching the thermostat to the wallplate.
WiFi Network Setup and Configuration
Connect the thermostat to your home WiFi network by selecting your network name and entering the password. Follow on-screen instructions to complete the setup process.
6.1 Connecting Thermostat to Home WiFi
To connect the Honeywell 6000 WiFi Thermostat to your home network, go to the thermostat’s menu, select WiFi setup, and choose your network from the list. Enter your WiFi password using the touchscreen interface. Wait for the thermostat to connect. Once connected, a confirmation message will appear, indicating successful network integration. This step enables remote access and smart functionality. Ensure your router is nearby for optimal connectivity.
6.2 Configuring WiFi Settings
After connecting to your home WiFi, configure advanced settings like DHCP, IP address, and subnet mask if necessary. Ensure the thermostat is set to obtain an IP address automatically. Select your network’s SSID and WPA2 security type. Verify the connection strength and adjust the thermostat’s location if needed. Save settings to complete configuration. A strong connection ensures reliable remote access and smooth operation. Restart the thermostat if issues arise during setup.
Thermostat Registration and Remote Access
Register your Honeywell 6000 WiFi Thermostat by creating a Honeywell Home account and linking it to Total Connect Comfort for remote monitoring and control capabilities.
7.1 Creating a Honeywell Home Account
Creating a Honeywell Home account is essential for remote access. Visit the Honeywell Home website, click “Create Account,” and follow the prompts to enter your email and password. Verify your account via the confirmation email sent by Honeywell. Once registered, you can link your thermostat to your account through the Total Connect Comfort portal, enabling seamless remote control and monitoring.
7.2 Linking Thermostat to Total Connect Comfort
To link your Honeywell 6000 WiFi Thermostat to Total Connect Comfort, log into your Honeywell Home account. Navigate to the “Add Device” section and enter your thermostat’s MAC ID, found on the device or packaging. Follow the prompts to complete the linking process. Once connected, you’ll receive a confirmation email. This setup enables remote monitoring and control via the Total Connect Comfort app, ensuring seamless smart home integration.
Testing and Verification
Test the thermostat’s operation by adjusting settings and verifying responses. Ensure remote access works via the app and confirm all features function as expected.
8.1 Verifying Thermostat Operation
After installation, verify the thermostat’s operation by checking basic functions. Ensure the display lights up and responds to touch commands. Test heating, cooling, and fan modes to confirm proper operation. Check temperature adjustments and schedule settings to ensure accuracy. Verify that the thermostat correctly connects to your HVAC system and cycles it appropriately. Perform a full system test to confirm all features, including remote access, are functioning as expected.
8.2 Testing Remote Access Functionality
Test remote access by opening the Honeywell Home app and ensuring the thermostat appears. Adjust settings like temperature and schedules remotely to confirm functionality. Verify real-time updates on the app reflect changes made. Check that notifications and alerts are received. Ensure remote access works across multiple devices and platforms. If issues arise, restart the thermostat and router, then reconnect to the WiFi network and retry the setup process.

Troubleshooting Common Issues
Identify issues like unresponsive displays or incorrect temperatures. Check for loose wires, power outages, or WiFi disconnections. Restart the thermostat and router if connectivity fails. Ensure proper wiring and settings match your HVAC system. Refer to the manual or Honeywell support for detailed solutions to resolve installation or operational errors effectively.
9.1 Resolving WiFi Connection Problems
If the Honeywell 6000 WiFi Thermostat fails to connect to your network, restart the router and thermostat. Ensure the WiFi password is correct and the network is visible. Check for physical obstructions or interference from other devices. Verify the thermostat’s firmware is updated. If issues persist, reset the thermostat to factory settings and reconnect it to your WiFi network following the installation manual’s guidelines.
9.2 Addressing Installation Errors
If installation errors occur, ensure the HVAC system’s power is off. Verify wiring connections match the thermostat’s terminal labels. Check for loose wires or incorrect wire assignments. Confirm the system type (e.g., heat pump, 2-stage heating) is correctly set in the installer settings. If issues persist, consult the installation manual or contact Honeywell support for assistance. Always follow safety guidelines to avoid electrical hazards during troubleshooting.
Safety Precautions and Best Practices
Always disconnect power before installation to avoid electrical shock. Follow manufacturer guidelines for wiring and mounting. Ensure proper grounding and avoid overloading circuits for safe operation.
10.1 Electrical Safety Guidelines
Always disconnect power to the HVAC system before starting installation to prevent electrical shock. Use 18- to 22-gauge wires for connections. Avoid overloading circuits and ensure proper grounding. Never touch wires with wet hands or while standing on a damp surface. If unsure, consult a licensed electrician. Follow all local electrical codes and manufacturer instructions for safe installation and operation of the Honeywell 6000 WiFi Thermostat.
10.2 Maintenance Tips for Optimal Performance
Regularly clean the thermostat’s display and sensors to ensure accurate temperature readings. Check and replace the HVAC system’s air filters as recommended. Update the thermostat’s software periodically for enhanced functionality. Inspect wires for damage and ensure secure connections. Verify WiFi signal strength for reliable remote access. Refer to the user guide for detailed maintenance instructions to maintain optimal performance and extend the lifespan of your Honeywell 6000 WiFi Thermostat.
Warranty and Support Information
The Honeywell 6000 WiFi Thermostat is backed by a limited warranty covering defects in materials and workmanship. For support, contact Honeywell’s customer service or visit their website.
11.1 Understanding Honeywell’s Warranty Policy
Honeywell’s warranty for the 6000 WiFi Thermostat typically covers defects in materials and workmanship for a specified period, ensuring reliable performance. The warranty duration varies by product, often ranging from one to five years, depending on the model. Proper installation and registration may be required to validate the warranty. Damages due to misuse or improper installation are generally not covered. Always review the warranty terms for specific details and conditions.
11.2 Contacting Customer Support
For assistance with the Honeywell 6000 WiFi Thermostat, contact customer support via phone, email, or live chat through their official website. Representatives are available to address installation, technical, or warranty-related inquiries. Visit the Honeywell Home website for detailed contact information and support resources. The support team is equipped to guide users through troubleshooting and provide solutions to ensure optimal product performance.
The Honeywell 6000 WiFi Thermostat installation process is straightforward, offering enhanced efficiency and remote control. Proper setup ensures optimal performance and energy savings for a smarter home experience.
12.1 Summary of Installation Process
The Honeywell 6000 WiFi Thermostat installation involves turning off power, mounting the wallplate, connecting wires, and configuring WiFi settings. After setup, the thermostat is registered for remote access, ensuring seamless operation and energy efficiency. Proper installation and configuration are essential for optimal performance and smart home integration, as outlined in the manual.
12.2 Final Tips for Efficient Thermostat Use
For optimal performance, schedule temperature adjustments to align with your daily routine. Regularly update your WiFi network and thermostat software to ensure compatibility and security. Use the remote access feature to monitor and adjust settings efficiently. Maintain a consistent temperature to reduce energy consumption and extend system longevity. These practices will enhance comfort and savings, making the Honeywell 6000 WiFi Thermostat a valuable addition to your smart home system.